Budget Wellington in 3 days
Wellington is a genuinely cheap city to do well
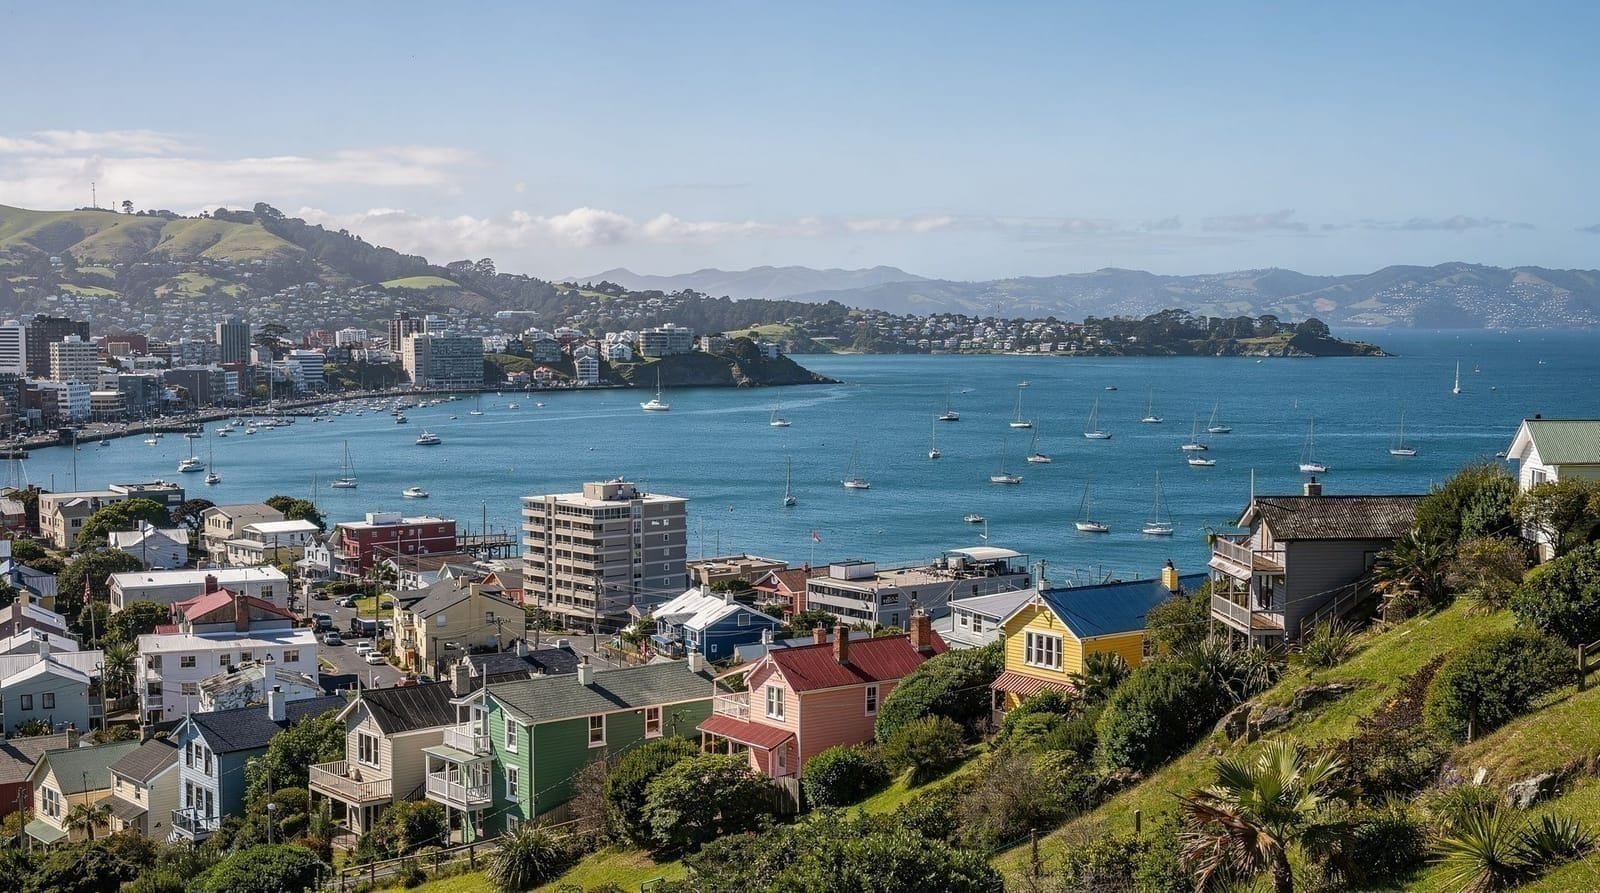
Wellington’s reputation skews toward wine and craft beer and helicopter flights, but the honest truth is that a lot of what makes the city worth visiting costs little or nothing: Te Papa is free, the harbour and hill viewpoints are free, and the Botanic Garden is free beyond a small cable car fare. This three-day itinerary strips the trip down to its lowest reasonable cost without cutting the sights that actually matter — no paid tours beyond the cable car, cheap eats over sit-down dinners, and hostel or budget-hotel accommodation instead of a mid-range double.
This isn’t a “miss everything good” budget trip — it’s built around the observation that Wellington’s free and cheap attractions are genuinely strong enough to carry a full three days on their own. See Wellington on a budget and the Wellington trip cost and budget guide for the wider cost context this itinerary draws from.
| Where | Central Wellington — Te Papa, the waterfront, Cuba Street, Mount Victoria, the Botanic Garden |
| Cost | Around NZ$210–330 per person for three days, excluding flights |
| Time needed | 3 days, easily walkable, no car needed |
| Getting there | Airport Express bus, around NZ$9, roughly 20 minutes from WLG |
| Best time | June–August for the lowest accommodation rates |
Getting to and from the airport cheaply
Wellington Airport (WLG) sits about 8km from the CBD. The Airport Express bus runs for NZ$9 and takes roughly 20 minutes — meaningfully cheaper than a taxi at NZ$35–45 for the same trip, and the obvious choice for a budget-focused visit. If you’re carrying minimal luggage, this is a straightforward, comfortable option rather than a compromise; see Wellington airport to city guide for the full walkthrough of stops and timing.
Sorting entry requirements without overpaying
NZeTA and the International Visitor Levy are mandatory for most visa-waiver nationalities and cost around NZ$117–123 total per person — apply directly through the official immigration.govt.nz site or the official NZeTA app rather than third-party sites that charge a service fee on top for the same application. See NZeTA and IVL guide for Wellington visitors for the current process, since this is one area where an unnecessary markup is easy to avoid with a few minutes of care before you apply.
Where to stay on a budget
Nomads Capital Backpackers on Dixon Street is Wellington’s best-known hostel, centrally located with dorm beds typically NZ$30–50/night and private rooms available for a moderate premium. YHA Wellington offers a similar budget tier with a slightly quieter atmosphere. Both put you within walking distance of everything in this itinerary. See where to stay in Wellington for the fuller neighbourhood breakdown, and travel in winter (June–August) rather than summer if accommodation cost is the priority — expect 30–40% lower rates outside the December–February peak.
Both hostels have shared kitchens, which matters more for this itinerary than it might for a mid-range trip — self-catering even one meal a day meaningfully changes the total food budget over three days, and a shared kitchen also tends to be a decent place to pick up informal, current recommendations from other travellers who’ve just done the same city.
Day 1: Te Papa and the waterfront (largely free)
Morning — Te Papa (free, allow 2–3 hours). Start at Te Papa Tongarewa on Cable Street — free entry, genuinely excellent, and easily the single best value stop in the entire itinerary. Head for the Māori collections and the Awesome Forces earthquake exhibit. A donation is appreciated on the way out but not required, and there’s no pressure to pay for a guided add-on to get full value from a self-guided visit here.
Arrive close to opening (10am) if you want the galleries at their quietest — school groups and cruise-ship crowds tend to build through the late morning, and a free attraction with no timed-entry system rewards an early arrival more than a paid, ticketed one would. There’s no cost difference either way, simply a comfort one.
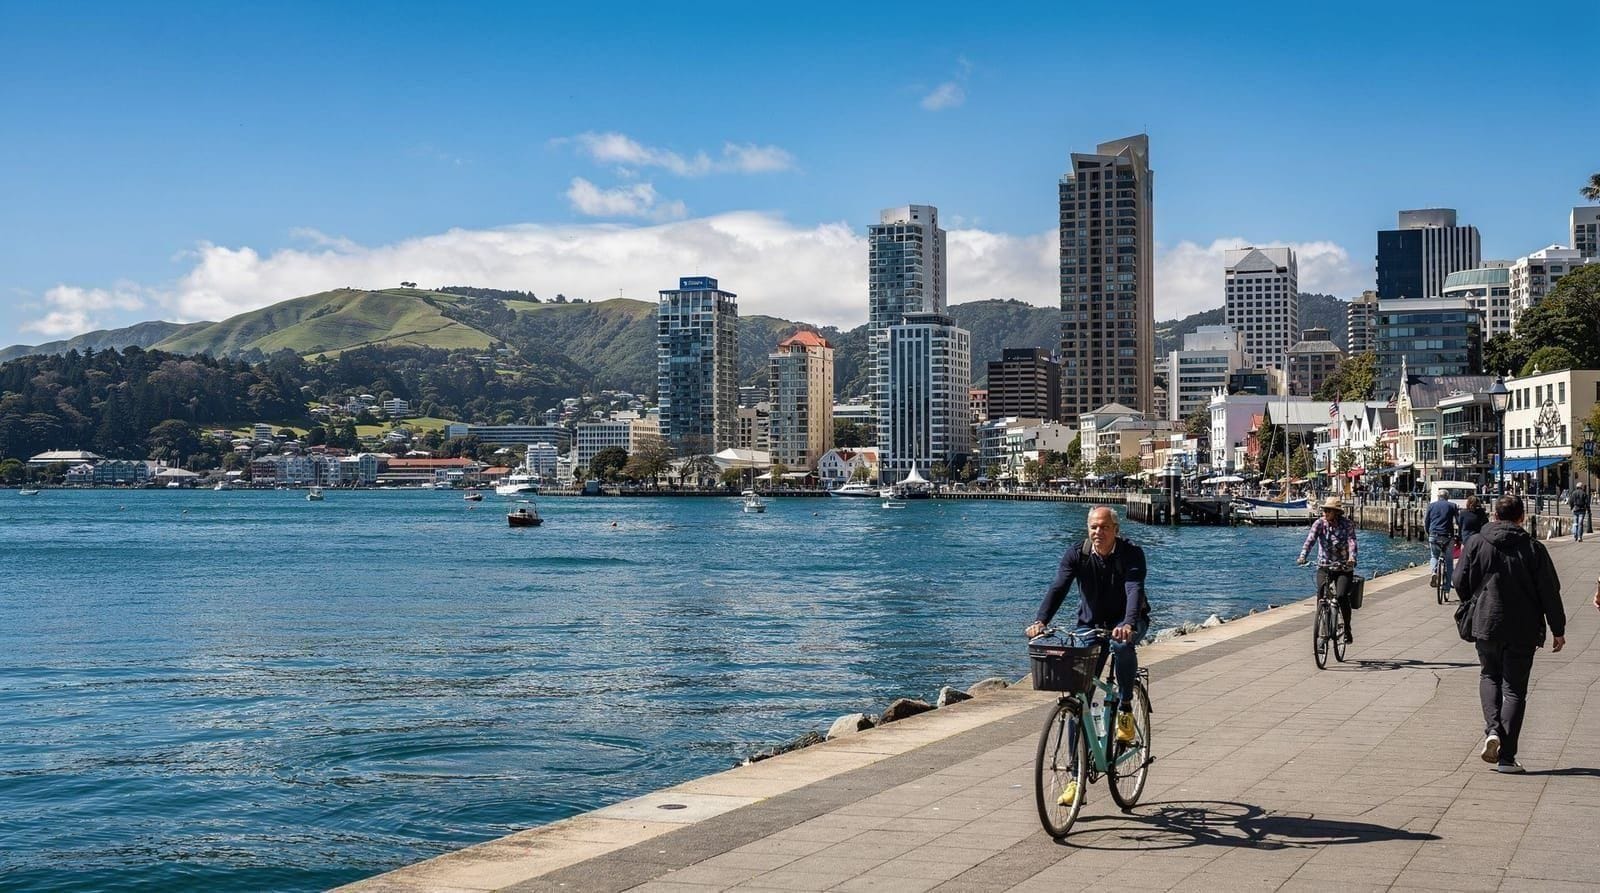
Midday — the waterfront (free). Walk the Wellington waterfront north toward Queens Wharf — free, scenic, and a good stretch to bring a packed lunch to rather than paying waterfront café prices, which run noticeably higher than a Cuba Street equivalent for a lesser product; see the waterfront café warning for specifics. A supermarket-bought lunch on a park bench costs a fraction of a café meal and the view is the same.
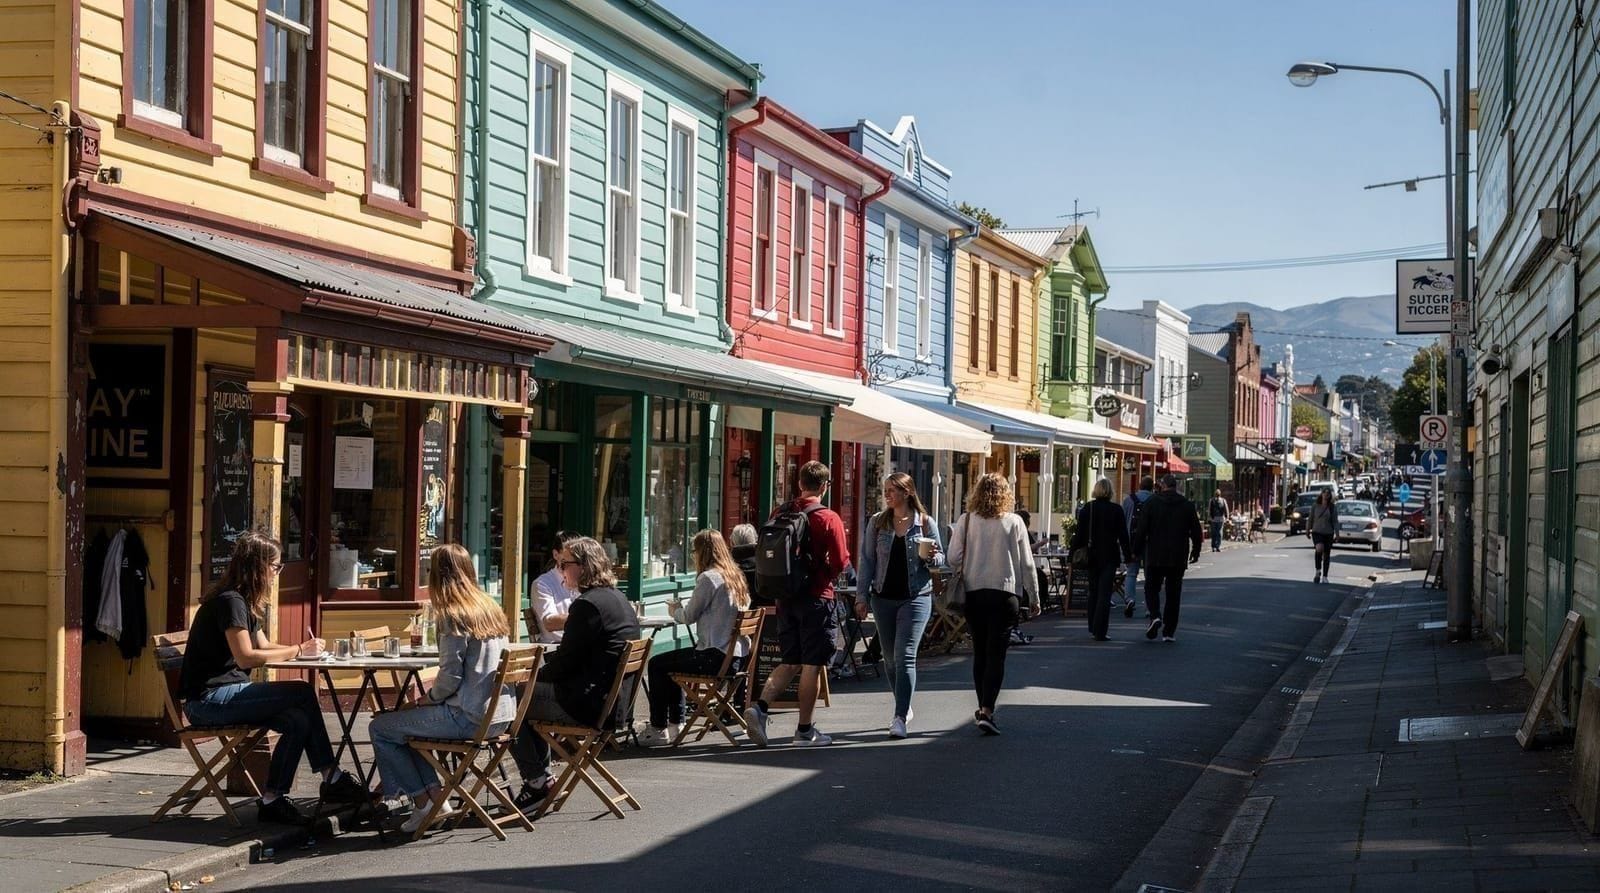
Afternoon — Cuba Street (cheap eats). Wander Cuba Street — free to walk, and home to Wellington’s best concentration of cheap, good food. See cheap eats in Wellington for a dedicated list; casual meals here run NZ$15–25, noticeably better value than the waterfront strip for equivalent or better quality.
Evening — a budget dinner. Skip the special-occasion restaurants and look for a casual noodle bar or a simple café dinner on or near Cuba Street — NZ$15–20 a head is realistic without feeling like a compromise, given the quality on offer at this price point in Wellington specifically.
Day 2: cable car, Botanic Garden and Mount Victoria (all low-cost)
Morning — the cable car and Botanic Garden. The one genuine paid attraction in this itinerary: book the return cable car ticket for NZ$9–11, a five-minute climb to Kelburn that opens onto the free Botanic Garden — 25 hectares of native and exotic planting, walkable back down into the CBD at no further cost. This single ticket is worth the small spend; skipping it to save NZ$10 isn’t a meaningful budget win given the view and access it buys.
Midday — a cheap lunch. Head back into the CBD or Cuba Street for another low-cost lunch — see free things to do in Wellington for more zero-cost stops to fold in around meals if you want to stretch the afternoon further without spending.
Afternoon — Mount Victoria (free). Walk up Mount Victoria for the city’s best harbour panorama — free, 30–45 minutes on foot from the CBD, and genuinely one of Wellington’s best-value experiences precisely because it costs nothing. See best views in Wellington for how this compares to paid alternatives like the scenic helicopter flight, which this itinerary skips entirely on cost grounds.
Evening — self-catering or cheap eats. If your accommodation has a kitchen (most hostels do), a self-catered dinner from a nearby supermarket is the single biggest budget lever available on this trip — a proper home-cooked meal for two can run under NZ$20 total versus NZ$40-plus for even a casual restaurant dinner for one.
Day 3: free things to do and a slower finish
Morning — free hidden gems. Spend the morning on Wellington’s under-visited free stops — Old St Paul’s, a wooden Gothic Revival church near Parliament, and the Katherine Mansfield House on Tinakori Road (small entry fee, but modest) both fit a low-cost, low-key morning. See Wellington’s hidden gems for the fuller list.
Midday — markets or cheap eats. If your visit coincides with a weekend, check the Wellington markets guide for a market day — often the cheapest, most interesting way to eat lunch in the city, with a wide range of food stalls at prices well below café equivalents.
Afternoon — City Gallery and a final wander. The City Gallery in Civic Square offers free entry to most exhibitions, a good final indoor stop if the weather turns, or a further look at Cuba Street if it holds up.
Evening — departure or a final budget dinner. Wrap up with one more cheap meal before departure, keeping the same NZ$15–20 target as the rest of the trip. If your flight is early the next morning, consider a self-catered dinner back at your accommodation rather than a final restaurant meal — it’s a small saving but a genuinely useful one if the budget has run slightly over across the previous two days, and it also simplifies packing and an early departure without needing to factor in a last sit-down meal timing.
Realistic three-day budget
For one person: accommodation NZ$90–150 (three nights in a hostel dorm at NZ$30–50), food NZ$100–150 (mostly cheap eats and some self-catering), the cable car NZ$9–11, local transport (occasional bus) NZ$10–20. Total roughly NZ$210–330 for three days excluding flights — genuinely one of the cheaper ways to see a capital city properly anywhere in the developed world. See realistic Wellington trip budget for an honest look at where costs tend to creep up beyond this baseline, and Wellington on a budget for further money-saving tactics beyond what’s covered here.
For two people travelling together and splitting a private hostel room or a very basic budget hotel rather than separate dorm beds, expect the total to land somewhat higher per person than the solo dorm figure above but still comfortably under NZ$250 each for the three days, since food and the cable car cost the same per person regardless of group size and only accommodation benefits meaningfully from splitting.
Ten small savings that add up
Beyond the day-by-day plan above, a handful of small habits meaningfully reduce the total cost of a Wellington trip without sacrificing much: refill a water bottle rather than buying drinks throughout the day (Wellington’s tap water is safe and good); walk rather than bus for anything under 20 minutes given how compact the CBD is; buy a Snapper card (or its 2026 successor Motu Move) rather than paying cash fares if you do need more than one or two bus trips, since the per-trip rate is meaningfully lower; eat your largest meal at lunch when many cafés run cheaper set menus than their dinner pricing; and check whether your accommodation includes breakfast before assuming you need to buy one separately. None of these individually saves much, but stacked across three days they meaningfully move the needle on a tight budget.
Getting around without a car, cheaply
This itinerary is built to be walked almost entirely — Te Papa, the waterfront, Cuba Street and the cable car base station all sit within 20–25 minutes of each other on foot, and Mount Victoria’s lookout is the only stop involving a real uphill walk. If you do need Metlink buses, whether to reach accommodation outside the CBD or on a wet day, a Snapper or Motu Move card cuts the per-trip fare compared with paying cash on board. See getting around Wellington on Metlink for zones, fares and which routes are worth knowing even if you mostly walk. Skipping a rental car entirely is itself one of the biggest savings on this trip, since parking in central Wellington runs several dollars an hour and this itinerary never needs it.
Three days at a glance
| Day | Focus | Approx. spend |
|---|---|---|
| Day 1 | Te Papa, the waterfront, Cuba Street cheap eats | NZ$30–45 |
| Day 2 | Cable car, Botanic Garden, Mount Victoria | NZ$55–75 |
| Day 3 | Free hidden gems, markets, City Gallery | NZ$25–40 |
Making the coffee and craft-beer scene work on a budget
Wellington’s coffee culture doesn’t require abandoning the budget framing — a flat white runs NZ$5.50–6.50 regardless of which café you choose, so there’s little cost difference between a well-regarded independent roaster on Cuba Street and a generic chain option, meaning you can enjoy the city’s actual coffee reputation without any premium. Craft beer is a different story — NZ$8–12 a pint at most breweries is a genuine expense relative to the rest of this itinerary’s costs, so if beer matters to your trip, budget for one or two pints as a planned treat rather than several rounds across multiple venues, which would meaningfully change the trip’s overall cost profile.
Honest notes
This itinerary deliberately skips Weta Workshop (NZ$50–85) and Zealandia (NZ$55) — both genuinely worthwhile, but neither fits a strict budget framing given their per-hour cost relative to Wellington’s free alternatives. If either matters enough to you to break the budget, add it as a single planned splurge rather than abandoning the budget approach for the rest of the trip; one paid attraction on an otherwise free-and-cheap itinerary is a reasonable compromise, not a failure of the plan.
It’s also worth being honest that a genuinely tight budget trip involves some trade-offs beyond just cost — hostel dorms mean less privacy than a hotel room, self-catering takes more planning than eating out for every meal, and skipping guided tours means doing your own research on logistics rather than having someone else handle it. None of these are dealbreakers, but they’re real adjustments worth being upfront about rather than pretending a budget trip is identical in comfort to a mid-range one, just cheaper.
A separate honest note on tourist traps: Wellington has a handful of overpriced spots that specifically target budget-conscious first-timers who don’t know better — certain souvenir shops near the waterfront charge a real premium for items available more cheaply elsewhere in the city, and some “quick tour” operators near cruise-ship berths price aggressively for a fairly thin experience. See Wellington tourist traps & overpriced spots for the specifics, since avoiding these few traps does more for a tight budget than most of the smaller savings tips above combined.
Packing to keep costs down
A budget trip benefits from packing that avoids on-the-ground purchases: a reusable water bottle (Wellington tap water is safe and good, so this alone saves several dollars a day), a light rain layer given how quickly weather turns, comfortable walking shoes since almost everything here is done on foot, and a tote bag or small daypack for carrying a packed lunch to the waterfront or Mount Victoria rather than buying food on location. If you’re self-catering even one meal a day from a hostel kitchen, a couple of reusable containers make leftovers practical rather than wasteful. None of this is expensive gear — the point is simply arriving with what you need so you’re not paying convenience-store prices for basics once you’re here.
FAQ about Budget Wellington in 3 days
Is Wellington actually cheap, or is this itinerary an exception?
Wellington’s mid-range and premium experiences (fine dining, guided tours, the helicopter flight) run comparably to other developed-world capitals, but its free attractions are unusually strong for a capital city, which is what makes a genuinely budget-friendly three days possible without feeling like you’re missing the highlights.
Can I do this itinerary without any hostel stay, using budget hotels instead?
Yes — budget hotels run NZ$80–120/night, higher than a hostel dorm but still meaningfully below mid-range rates, and everything else in this itinerary works identically regardless of accommodation choice.
How does this itinerary compare to a mid-range 3-day trip?
It covers most of the same core sights — Te Papa, the cable car, Cuba Street, Mount Victoria — as Wellington in 3 days, with the main omissions being Weta Workshop and Zealandia, both paid attractions this budget version deliberately skips. The experience of the free sights themselves doesn’t change based on budget tier; the difference is almost entirely in accommodation comfort, meal choices and whether you add either paid attraction on top.
Is this itinerary realistic for a solo backpacker, or does it assume a couple?
The costs above are calculated per person and work equally well solo — if anything, hostel dorm accommodation and self-catering are natural fits for solo budget travel, and Wellington’s compact layout means solo travellers don’t lose much by not splitting costs with a companion the way accommodation and some transport costs would otherwise favour a pair.
What’s the best season for this specific budget itinerary?
Winter (June–August) maximises savings — accommodation runs 30–40% cheaper than summer, and none of this itinerary’s stops (Te Papa, the cable car, Cuba Street, Mount Victoria) lose much value in cooler weather, since most of the time is spent walking rather than swimming or sunbathing. The trade-off is a greyer, windier, wetter Mount Victoria view and a higher chance of the cable car and waterfront feeling less pleasant underfoot — see Wellington in winter for what to expect.
Does travelling on a budget mean missing out on Wellington’s food and coffee reputation?
Not really — a flat white costs the same NZ$5.50–6.50 regardless of which café pours it, so sampling the city’s coffee culture doesn’t require a premium spend. Craft beer is the one area where a genuine budget trip trades away some of the city’s reputation, since NZ$8–12 a pint across several venues adds up quickly; treating one or two pints as a planned splurge rather than a nightly habit keeps this itinerary’s overall budget intact.
Should I skip the cable car to save money?
No — at NZ$9–11 it’s genuinely one of the best-value paid experiences in the city, and skipping it to save a small amount isn’t a meaningful budget lever compared with the bigger costs (accommodation, food) elsewhere in the trip. Book the return ticket ahead of a busy day if you’d rather avoid any queue at the kiosk, though it’s rarely necessary outside peak cruise-ship days in summer.
Do I need a Snapper or Motu Move card for this itinerary?
Not strictly — most of this itinerary is walkable, and the only near-essential paid transport is the Airport Express bus at either end. See getting around Wellington on Metlink if wet weather or an outer-suburb hostel pushes you toward the bus more than once or twice; a transit card pays for itself after two or three trips versus cash fares.
Is this itinerary walkable without any bus trips at all?
Largely yes. Te Papa, the waterfront, Cuba Street and the cable car base station sit within a comfortable 20–25 minute walk of each other, and Mount Victoria is reachable on foot from the CBD in 30–45 minutes. The only genuinely awkward walk is to and from the airport, which the Airport Express bus solves cheaply.
Top experiences
Bookable activities with verified prices and instant confirmation on GetYourGuide.